
Installation d'un serveur Web et de GLPI
On peut installer GLPI sur un FreeNAS.
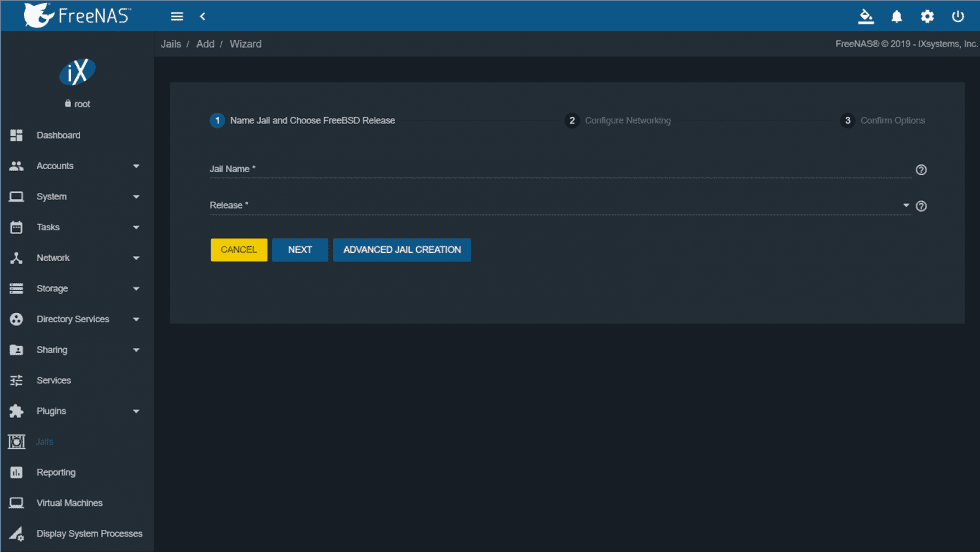
On crée d'abord une Jail.
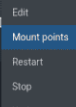
On cliquant ensuite sur les trois petits points, on peut changer l'adresse IP et y accéder en Shell.
On commence par mettre à jour et installer Apache2.4 via la commande :
pkg update
pkg install apache24
service apache24 onestart
On modifie /etc/rc.conf et on ajoute la ligne : apache24_enable=”YES”
On redémarre Apache.
service apache24 startOn reclique sur les trois petits points et on monte un dossier.
On ajoute un dossier créé au préalable.
On copie ensuite les fichiers de ce répertoire (on aura ajouté GLPI au préalable dans ce dossier).
cd /usr/local/www/apache24/data/
cp -R /media/nom_du_partage/* ./GLPI
On installe ensuite les autres paquets :
pkg search mysql
pkg install mysql80-server
sysrc mysql_enable=yes
mysql_secure_installation
mysql -u root -p
#On crée l'utilisateur pour GLPI, la base et on attribue les droits.
#On installe PHP.
pkg install php72-mysqli php72-json php72-mbstring php72-session php72-hash php72 mod_php72 php72-zlib php72-curl php72-gd
cp /usr/local/etc/php.ini{-production,}
rehash
/usr/local/etc/php.ini
vi /usr/local/etc/apache24/httpd.conf
On ajoute :
<FilesMatch "\.php$">
SetHandler application/x-httpd-php
</FilesMatch>
<FilesMatch "\.phps$">
SetHandler application/x-httpd-php-source
</FilesMatch>
On ajoute aussi dans la catégorie : " DirectoryIndex index.html"
DirectoryIndex index.php index.htmlOn redémarre Apache.
service apache24 restart
On l'installe, on ajoute le plugin FusionInventory et on peut remonter le parc.